Showing posts with label recipe. Show all posts

Sunday, July 1, 2012

Food! (Part 6/6)


Recipes!!


Here are some great recipes submitted by dancers and other health-conscious individuals!  Thank you to all who contributed!!

  1. Homemade Salsa
  2. Turkey & Black Bean Chili
  3. Chicken with Goat Cheese and Arugula Recipe
  4. Spaghetti Squash:
  5. Crock-Pot Chicken
  6. Mediterranean Nachos
  7. Chicken with Mushrooms & Onions
  8. Fish Tacos
  9. Corn and Black Bean Salad
  10. A Great Start to Your Morning


Ingredients

3 Roma Tomatoes (sliced in ½)
2 Cloves of garlic (sliced in ½)
1 tbsp Fresh Cilantro
½ of a fresh Jalapeño
½ tsp Cayenne pepper
2 Stalks of green onion (Sliced into 1 in. pieces)
Salt and Pepper to taste

Place in a blender or food processor (I use my Ninja!)


Back to Top


Turkey & Black Bean Chili (serves ~8 as-is, but doubles easily to feed a crowd. I once made a triple batch for a 4th of July party full of metal-head boys and they went crazy over it.)

Ingredients

1 package lean ground turkey (about 1.25 lbs)
2 cans of black beans, rinsed
1 can of tomato sauce
1 28 oz can of diced tomatoes (I like to use one 14.5oz can of plain diced and one 14.5oz can stewed)
1/2 to 1 cup of diced white onion (depending on how much onion you like)
2 TB olive oil
1 clove garlic, minced
2 TB chili powder
1 TB garlic salt
3 tsp cumin
1 tsp cayenne (optional)

1. Brown the onions and meat in the olive oil. When the onions start to get translucent and the meat has very little pink left, add the fresh garlic and spices. I do it in a cast iron skillet so the meat browns nicely, but if you want to cut down on dishes, you could do it in your stockpot.

2. Add meat/onion mixture to beans and tomatoes in stockpot. Simmer AT LEAST 30 minutes, but up to 2 hours.
3. Eat! Tasty also w/ a few dashes of Tabasco, shredded cheese, or a dollop of sour cream (or plain Greek yogurt, mmm)

We used to serve this over elbow macaroni and do chili mac (very 60s recipe!), but we cut down on refined carbs a few years ago. Sometimes I'll serve over whole-wheat penne, polenta, or a baked potato. Delicious by itself, too!


Ingredients

4 chicken breasts (about 1 1/2 lbs total), tenders removed, breasts pounded thin
Kosher salt
Ground black pepper
1 large bunch arugula (about 4 ounces, trimmed)
4 oz of soft goat cheese (chevre) broken into small pieces
1-2 Tbsp butter or olive oil
Wooden Toothpicks

Method

1 Preheat oven to 425°F. Pound the breasts thin to make them thin enough for rolling. To do this place a piece of plastic wrap over the chicken breast. Use the smooth side of the meat pounder to pound thepiece thin.

2 Season the chicken pieces with salt and pepper. On a clean work surface lay cutlets flat, smooth side down. Layer with arugula leaves and pieces of goat cheese in the center. Starting with the narrowest ends, roll up the chicken cutlets into a tight roulade and seal with toothpicks to keep from unrolling.

3 Heat the oil on medium high in a large cast iron pan (or other non-stick oven-proof skillet). Place the chicken roulades in the pan and brown on all sides.

4 Place the skillet in the oven and cook until the chicken is cooked through, about 10 to 12 minutes. Remove pan from oven (take care to not touch pan handle with bare hands!) and remove the chicken from the pan. Cover with foil and let rest for 5 minutes. Remove the toothpicks from the chicken and slice the roulades into rounds to serve.


Ingredients
1 Spaghetti Squash (2 if you want some leftovers!)
Favorite Marinara Sauce
Goat Cheese
Portobello Mushrooms

Pre-heat oven at 375 degrees
Slice spaghetti squash in half and scoop out seeds
Melt 1-2 tbsp organic butter and drizzle on inside of squash
Season squash with salt and pepper (red pepper too if you would like some spice!)
Line cookie sheet with foil
Place squash halves face down on sheet and cook in oven for about 25-30 minutes
**You will know it is done when it is soft to touch and slightly browned on the bottom
Let cool for about 10-15mins and then take a fork and scoop out the squash (it will look just like spaghetti!)
Slice and sauté mushrooms with organic butter
Mix marinara sauce with the squash and layer mushroom slices on top with a scoop of goat cheese

If you don't have a Crock-Pot, you definitely should! It is the easiest way to make meals.  I put chicken drumsticks and thighs (with the bone) in a Crock-Pot.  You can add either teriyaki or BBQ sauce and coat the chicken.  Cover and cook on low for 6-8 hours.  Afterwards the chicken is so tender it just falls off the bone and it's perfect for leftovers!

This one is really easy! Place pita chips on a plate, then add hummus (for a great hummus recipe, click here), mozzarella, and feta cheese.  Place into a microwave to heat up and let the cheese slightly melt.  Take out and add kalamata olives on top and voila!


Take thin chicken breasts and sprinkle salt and pepper on both sides and light coat with flour.  Heat a tablespoon of olive oil in a sauté pan, place the chicken, and cook for 3-4 minutes on each side (or until golden brown). Take out the chicken breasts.  Place chopped onions in the already hot pan along with a tablespoon of unsalted butter. Sauté the onions for about 1 min, then add another tablespoon of butter and sliced mushrooms into the pan. Continue cooking for 7-8 minutes, until mushrooms are soft. Add in a little white wine to deglaze the pan and stir in the brown bits. Then place the chicken back in with the mushrooms and onions to soak everything up.


Take filets of tilapia and brush with olive oil, salt, pepper, and cumin.  Place into a sauté pan for about 3-4 min on each side.  Take an avocado and slice it into small pieces. Warm flour tortillas and place tilapia, avocado, and shredded lettuce.  You can always add salsa instead of the avocado.

Ingredients

1 can of corn niblets, rinsed
1 can of black beans, rinsed
1/2 chopped red onion
1 chopped red bell pepper (or whatever color you prefer, but I like the mix of colors w/ the other ingredients)
1 chopped cucumber, peeled (I usually use English cucumber, but if I have Persian cucumbers on hand, I'll use those. They don't need to be peeled and I like the extra crunch they give.)
Customization options: add halved grape/cherry tomatoes, jalapenos, cilantro, black olives, kalamata olives, avocado, scallions instead of red onion...whatever sounds good and is in your fridge/pantry! ;)

Drain the canned veggies, and chop the fresh ones. Toss everything in a big bowl with your favorite vinaigrette, and chill before serving.  It would be really tasty w/ just olive oil, fresh lime juice, and salt and pepper, too.


To start the day, I drink a glass of aloe vera drink (sugar-free) that I buy in huge bottles at a Korean supermarket for $2.99. Internal healing, anyone? Once a month, I harvest an aloe leaf from an outdoor plant...strip it...and blend it into the drink for an extra boost. Yum. So good.


Enjoy!

Saturday, June 2, 2012

Food! (Part 5/6)


A recipe from my mother’s kitchen.

Salmon (for people who don’t like to eat fish)


Ok obviously, if you already like fish, this recipe is for you as well.  :)

Why eat fish?

High in protein, low in fat, omega-3, vitamin D, calcium, phosphorous, iron, zinc, magnesium, and potassium.

We are talking good for your heart, brain, not to mention the rest of your body!

Many people do not like cooking fish because it is unfamiliar or they don’t like eating fish because it wasn’t cooked right.  ;-)  I will attempt to help with this below.

First, I picked salmon for this because it is the least “fishy” fish out there.

Here we go!

Ingredients
* indicates an accompanying picture below.
(Serves 6 or 4 who REALLY like salmon)

For the fish

-2 lbs of Salmon (I like “tail end” pieces because they have the least bones and cook very nicely.  Since you have to take out the bones before you cook it, it’s easier this way.)
-1/2 c of milk (this can be any kind including soy)
-2 tsp of balsamic vinegar
-1/2 c of Italian breadcrumbs
-Garlic powder
-Salt and pepper

For the tomato topping

-2 Roma tomatoes (chopped)
-2 cloves of garlic (chopped)
-1 tsp of garlic powder
-2 tbsp of olive oil
-Salt and pepper to taste

Directions

-Preheat oven to 375˚
-Line dark baking pan with foil.
-Wash salmon (NOT with soap) and place it on the pan skin down.
-Run fingers up and down the salmon in all directions to find bones.  Gently grasp each bone and pull it out in the opposite direction it grew.  You may need a knife to assist in this.  Sometimes when you buy salmon from the tail end, there are no bones in it.  Don’t be worried about this, but ALWAYS check.
-Pour milk over salmon (it will drip to the sides)*
-lightly sprinkle salt, pepper, and garlic powder over the surface of the salmon.
-Pour vinegar over the surface of the salmon.  Try to keep it in the middle of the fish.
-Take a spoon and rub the salt/pepper/garlic/vinegar mixture so it covers the salmon evenly.*
-Lightly cover the salmon with the breadcrumbs.  It should be covered completely.*
-Place another sheet of foil over the fish making a pouch.*
-Place in over oven and cook for 20 minutes.

In the meantime…

-Make the tomato mixture.
-Combine all ingredients in a small bowl and mix together.  This will go on the fish so you only need a little salt and pepper as the fish is already seasoned.

How to know if your fish is done?

-When 20 minutes are up, take the fish out and open the foil pouch.  Find the fattest portion of your fish and check to see if it is now an opaque, light pink color.  Then take a fork and gently take out a piece of it like you are taking a bite.  If it flakes off easily, it’s done.  Note!  If you bought fatter salmon (not at the tail end), it may take longer to cook. *

Directions Continued

-Once your fish is cooked, spoon out tomato mixture on the top of the fish.
-Close the foil back up and place in the oven.  At this point, turn off your oven.  (It’ll stay warm, but won’t over cook your fish.)
-Leave the fish with the tomatoes in the warm oven for 5 minutes.
-To serve your fish, use a plastic spatula to gently cut the fish into slices.  DO NOT cut through the skin.  Gently use the spatula to scoop the fish out of the skin leaving the skin on the pan.  (This skill will come with practice so don’t get frustrated if it doesn’t work well the first time.)
-Serve with rice, pasta, or my favorite couscous!  (And vegetables!)


Mangia!

Still collecting recipes for part 6, so send your ideas my way!  I'd love to feature them! :)


Monday, May 21, 2012

Food! (Part 3/6)


Quick and Healthy Chicken Fingers

From my kitchen!

I would like to dedicate this recipe to a lovely dancer I know whose favorite food is chicken nuggets.

Here is a healthy and quick way to make chicken nuggets/fingers at home!

Ingredients
(Serves 4)

-2 chicken breasts (Yes you can make this even quicker by buying chicken already cut to the finger or nugget size you want; however, those pieces tend to consistently have more fat in them...not fun.)
-1 cup of milk
-1 egg
-1-2 cups of bread crumbs (I like Progresso’s Italian Style Bread Crumbs.  You can of course make your own bread crumbs, but the title of this recipe is “Quick.”)
-1 tsp of olive oil

Directions (Pics are below)

-Preheat oven to 350˚
-Take a large baking sheet and cover with aluminum foil. 
-Spread the olive oil onto the foil to prevent the chicken from sticking.  (You can use other products to do this, but I think olive oil is healthier than lard. ;-) )
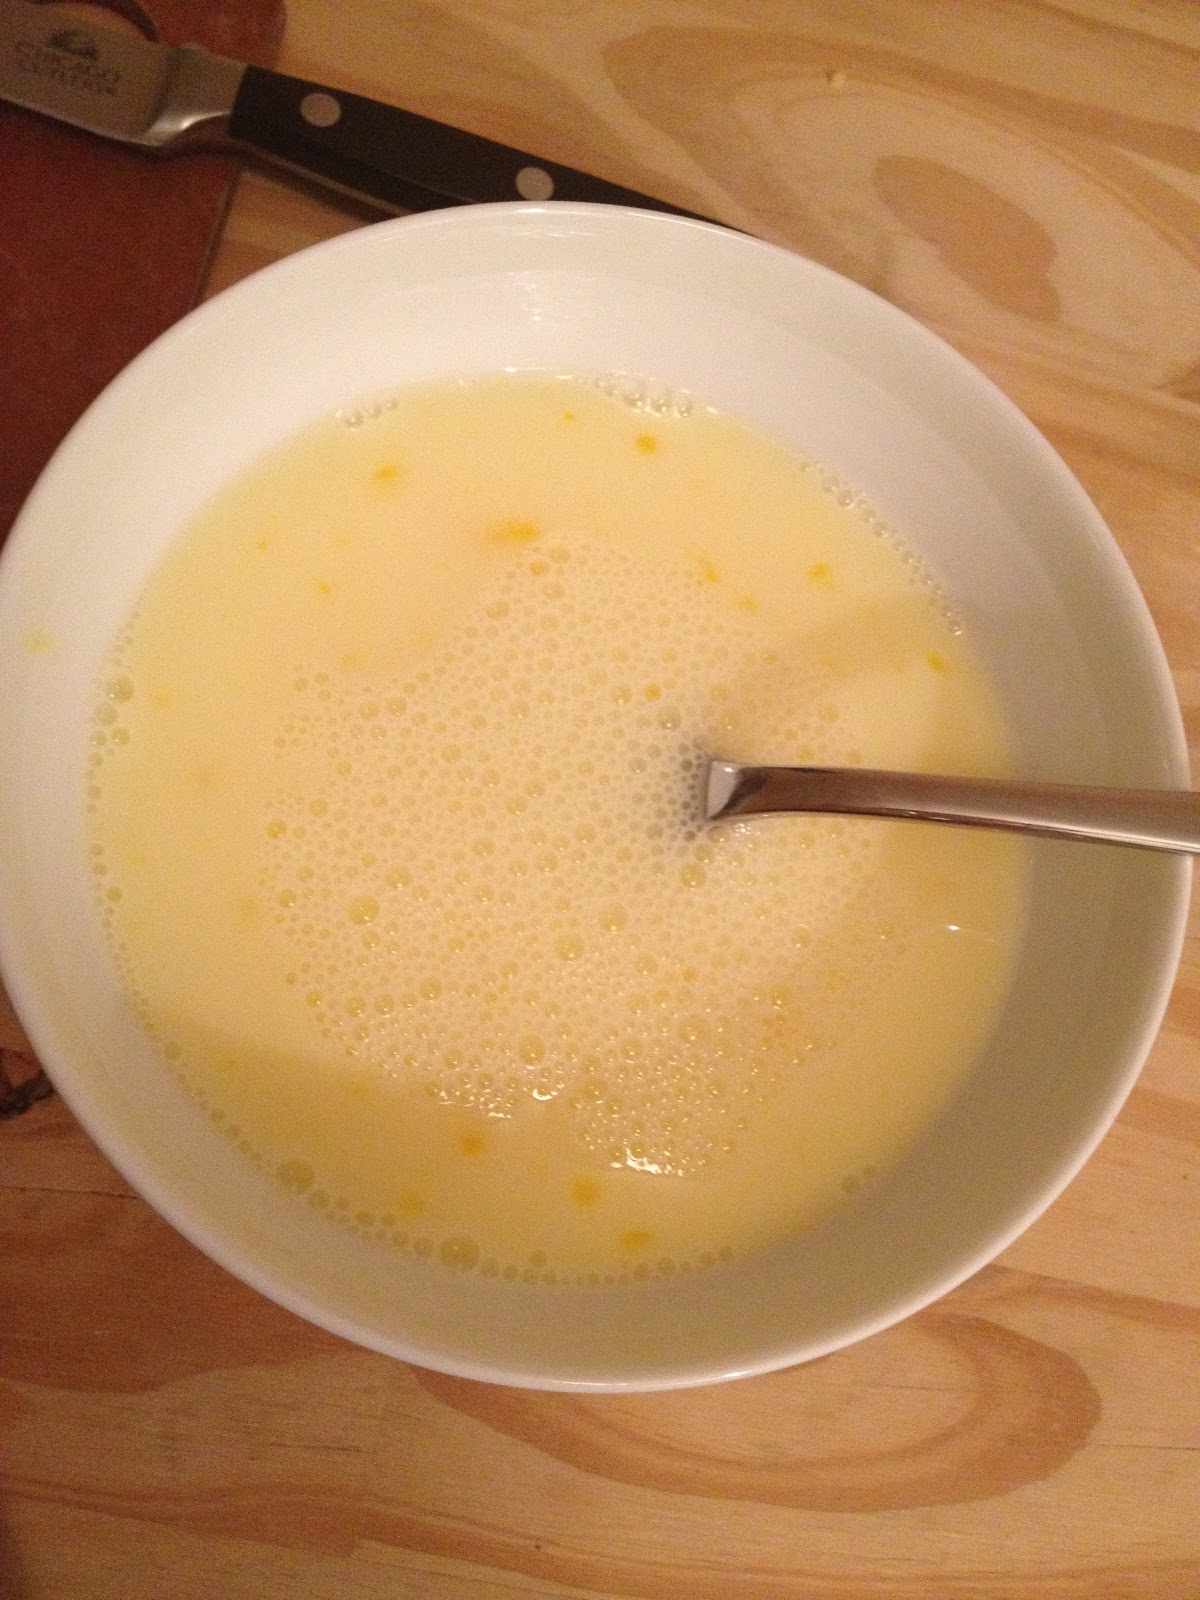
-Get a small bowl and combine the milk and egg.  Whip with fork until mixed.
-Pour 1 cup of breadcrumbs onto a dry cutting board.  (You may need the other cup of breadcrumbs depending on how many chicken pieces you have, but 1 cup at a time is very manageable.) 
-Wash and cut the chicken breasts into desired size/shape.  This would be where you determine if you want fingers or nuggets.  (You can actually make baked chicken parmesan this way as well by slicing the chicken breasts in half lengthwise making them half as thick as they were before.)
-Use a fork and dip each chicken piece into the breadcrumbs covering them completely.
-Take the same chicken piece and dip it into the egg and milk mixture.
-Finally dip the chicken piece into the breadcrumbs (coating them a second time).
-Place on baking sheet.
-Repeat until all the chicken pieces are done.


-For moist chicken cover the chicken with aluminum foil. Making a pouch.
-For crispier chicken cook uncovered.
-My favorite way to cook them is to make the pouch for the first 15 minutes and then cook them uncovered for 5 minutes.


-Bake for 20 minutes.  WARNING!!!  Every oven is different so start cooking at about 12-15 minutes and check to see how they are doing.  No one likes dry chicken!  (Note: Chicken is cooked when the inside is an opaque light beige color rather than pink.)

Voilà! 

Please send me or post recipes that you think we would all enjoy!  My last blog in this series will feature recipes from all of you!


Tuesday, May 15, 2012

Food! (Part 2/6)


Snacks!


So the sound of the word “snack” probably makes you think of unhealthy indulgences; however, for a dancer, snacks are an important part of a workday.  Eating smaller meals more frequently throughout the day not only helps to sustain energy, but also helps control weight and prevent those unhealthy cravings.


Let me start by defining the word snack, as it should be used.

Snack [snak] n – Small portion of healthy food eaten between larger meals to sustain energy, focus, and overall health.

This definition obviously does not include chips, candy, etc.  These foods may give an initial jump-start, but any benefit they may provide is fleeting, not to mention fattening.


So what to snack on?  
Light proteins, natural sugars, and healthy carbohydrates. 


Some Snack Ideas for You:

-Making your own trail mix can be really fun with nuts and dried fruits. 
-Bananas!  I especially like bananas because not only do they contain iron, potassium, fiber, etc. etc. (so many nutritional benefits) but you can also eat it with dirty hands.  (Ok stay with me on this...you just got out of class dancing on the floor and have a few minutes before your next class.  You can peel and eat a banana without ever touching it.  Bonus!)
-Peanut butter sandwich on whole wheat bread.  (Trader Joe’s has my favorite whole wheat bread!  It actually tastes like bread and has a hint of honey.  Oftentimes whole wheat can taste like whole cardboard.  They also have peanut butter that is made entirely of peanuts.  It tastes better and is healthier!)


Special Snack recipe from Lyndell’s Kitchen

Quick Homemade Hummus!


Ok my hummus is made from garbanzo beans, tahini sauce, lemon, and garlic...

Health benefits:
Garbanzo Beans: Contains zinc, protein, and fiber.  Low in fat and is a healthy source of carbohydrates, which helps to regulate sugar levels in your body. 

Tahini Sauce: (Ground Sesame Seeds) Again low in fat and high in protein and contain omega-3 (essential fatty acids we get from our diets that are mostly found in fish, which makes this a lovely vegetarian/vegan option.  Good for the immune system and cell growth), and manganese (helps with digestion and bone growth).

Lemon: Citrus helps inflammation (for sore muscles and injuries).  Lemons also contain Vitamin A and C and potassium.

Garlic:  Aside from keeping away vampires, it also helps with inflammation and is rich in antioxidants, which will keep you healthy.  (If you are worried about bad breath, just share with others!)


Ingredients 
(6 servings)

-2 cups of garbanzo beans drained
-1/3 cup of tahini sauce (I like the one from Trader Joe’s.  You can of course make your own tahini sauce, but then this recipe would lose its title “quick”.)
-1/4 cup of lemon juice (you can buy the juice or squeeze the lemons yourself.  It’ll take about 2-3 lemons.)
-2 cloves of garlic halved
-salt to taste
-If you would like to be fancy, cut some lemon slices and save a few whole beans for garnish (see pic above).


Directions
Combine all ingredients, except the salt, into a food processor or blender.  I use my Ninja!  (Note: whenever I talk about the Ninja, I say, “My Ninja” in an upper register, operatic tone, complete with jazz hands.  I love my Ninja!  Awesome Christmas gift from my uncle last year.  It is super easy to use and clean.  I highly recommend the investment!)

Blend until somewhat smooth.  I personally like it a little chunkier rather than pasty, but it’s up to you.  Taste the hummus and add salt if you wish.

Serve and eat with bread, assorted vegetables, cheese…anything!  Our favorite is Trader Joe’s (there is a trend here) whole wheat Naan bread.  It is like pita bread, but softer. 

Enjoy!!